The challenge: Loop a short video clip seamlessly so that it appears to go on forever.
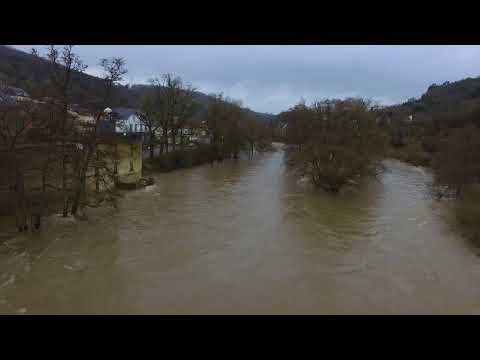
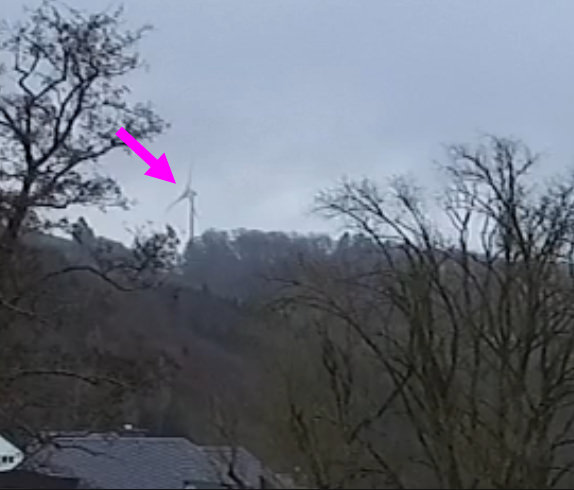
Let’s take this drone footage*:
It’s not terribly interesting or noteworthy but it’s good enough to demonstrate the concept.
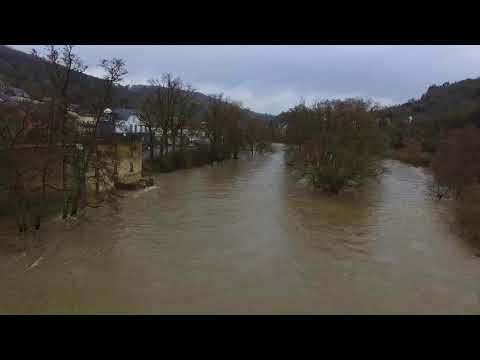
If we simply repeat the same video multiple times, there will be a noticeable jump (repeated 4 times below):
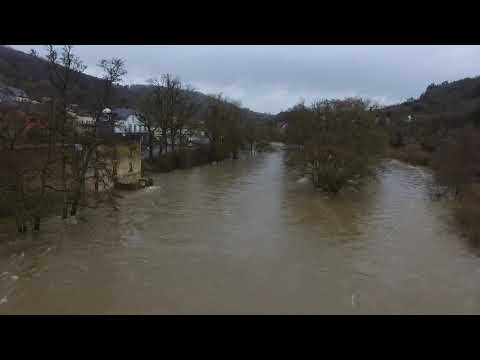
If we reverse the video, the frames will match but the direction of the movement won’t, which makes it look rather goofy (this is what Instagram does with Boomerang):
The solution: Blend the video onto itself
I have used DaVinci Resolve for the following steps (a powerful free version is available), but the concept is the same, regardless of the software. I first cut the video down to a shorter clip (which cannot start at the very beginning of the original footage). As far as the length of the clip is concerned, this is up to your artistic vision and experience. If there’s a discernible repeating movement in your video, you can use this for orientation. I picked a one-third rotation of the wind turbine in the upper left corner:
The looping playback control can be very useful during this step:

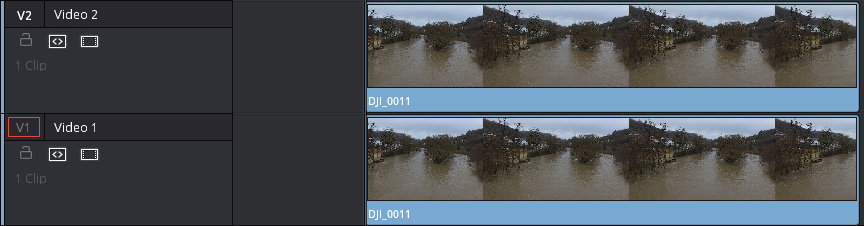
The resulting clip was just a little over 2 seconds long:

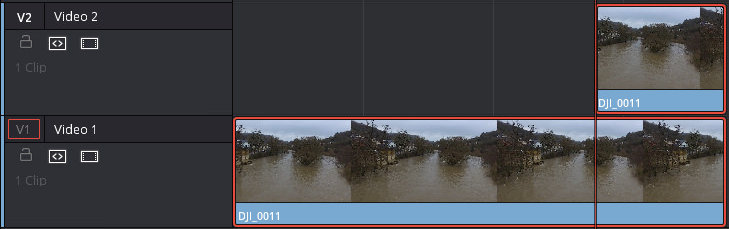
I then copied it to another track and moved both to the right for demonstration purposes:
Next, I lengthened the clip on the upper track by dragging the “in” point to the left:
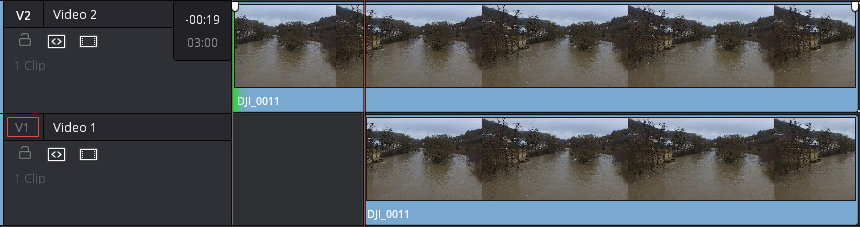
Note that the upper clip starts earlier in time and contains footage which is not a part of the lower clip.
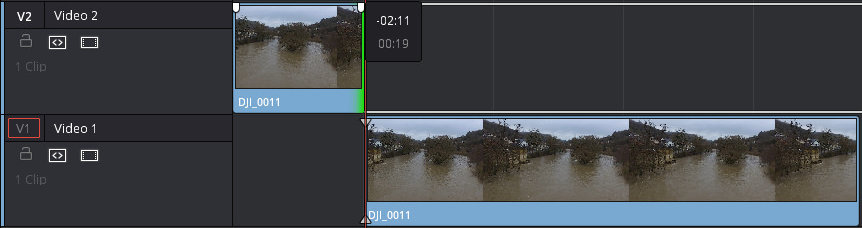
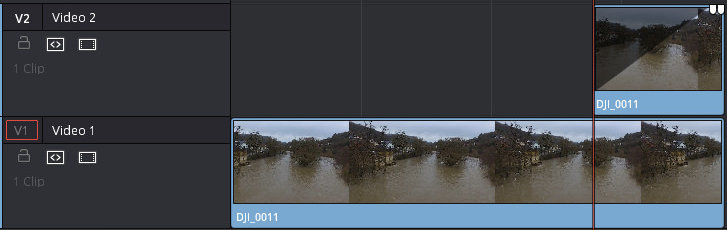
I then shortened the upper clip by also dragging the “out” point to the left. The end of the upper clip now perfectly matches the beginning of the lower clip (because it is the part of the original video that comes just before it):
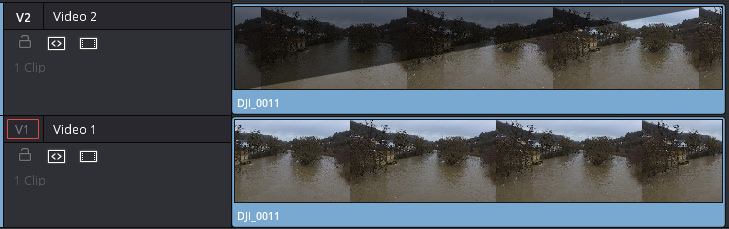
So far, this looks like a needlessly complicated way to split a clip (and yes, you could do it on a single video track). Things got more interesting as I moved the entire upper clip to the end of the lower clip:
Obviously, this resulted in a clearly visible jump at the point where the upper clip starts. However, this jump can be made a lot less noticeable by slowly fading the upper clip in:
The video had now been blended onto itself and I had ensured that the frame at the end was a perfect match for the frame at the beginning.
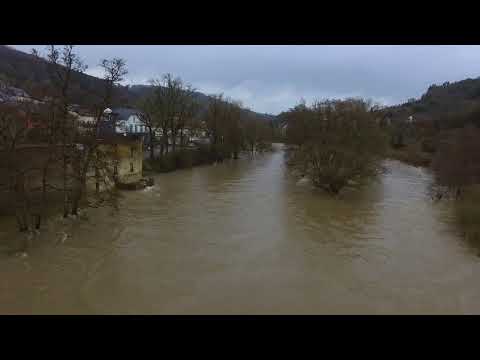
Here’s the result, repeated 10 times:
If you know what to look for, you can see the blending happening (particularly in the water). To make it less obvious, I lengthened the upper clip and the blend:
This is the result (again repeated 10 times):
This is the basic concept. You can improve the result in DaVinci Resolve by freezing everything except for the parts where movement should be visible (and also by stabilizing and color grading the video):
If you want to learn more about DaVinci Resolve, I recommend reading the extensive user manual or watching some video tutorials (like the ones made by Casey Faris or Ripple Training). Should you have any questions, I recommend posting them in the official DaVinci Resolve forum (and not in the comments below).
* The video was recorded on a DJI Phantom 3 Standard. The ruin of the mill you see on the left is located in the Luxembourgish town of Moersdorf. The drone was launched from the German side of the river.