If the Bluetooth device you want to connect to does not appear on Windows 11, try the following.
Go to Bluetooth and other device settings:

Click on View more devices or Devices:

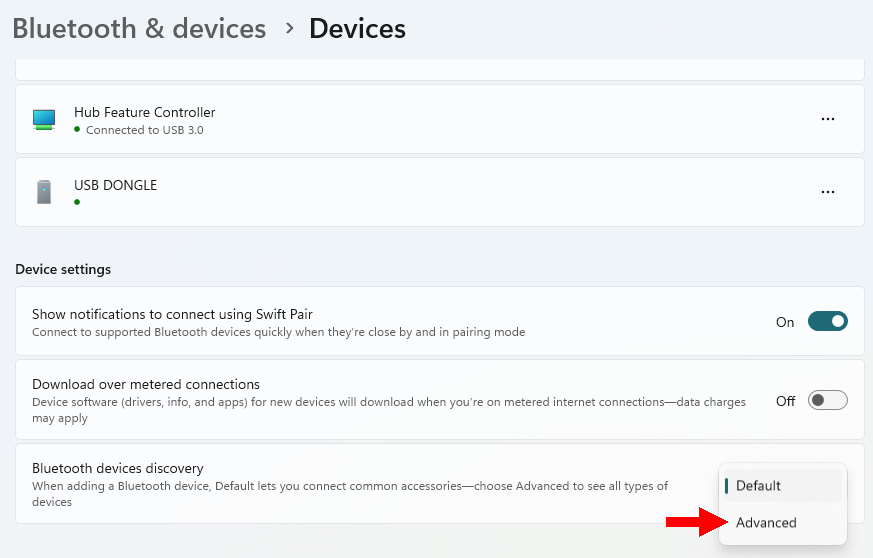
Scroll down to the Device settings section and set Bluetooth devices discovery to “Advanced”:
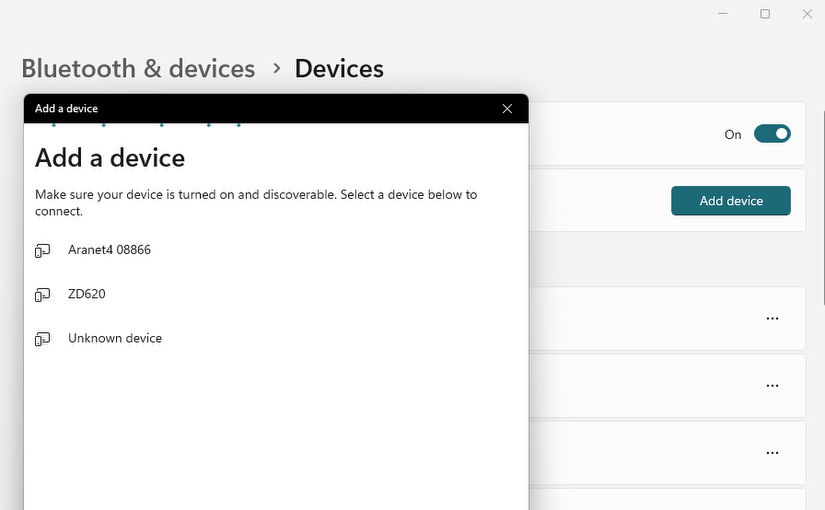
If you now try to add a Bluetooth device again, you should see all available devices.
Explanation
Discovery involves scanning for devices that are broadcasting their availability to pair. The “Default” mode uses predefined filters to reduce the devices the system displays to common ones, such as keyboards, mice, and headsets. Presumably this was done to reduce clutter.
When “Advanced” is selected, this filter is removed, allowing the system to list all devices that are discoverable in the vicinity.
While I wasn’t able to find a comprehensive list of devices that Microsoft considers to be uncommon, the following ones only showed up after I changed the setting:
- Adafruit EZ-Link (discontinued)
- Aranet4 Home CO2 monitor
- Ohaus Defender 5000 weighing scale with Bluetooth dongle
- Zebra label printer
Improvements in Windows 11 version 24H2
It looks like the upcoming version will offer to “show all devices” when Bluetooth devices have been detected but filtered out.
Note for Windows 10 Users
The setting discussed here is specific to Windows 11 and does not exist on Windows 10. This can make it look as if Windows 10 had better Bluetooth discovery capabilities, when the actual cause is the filter in Windows 11.