How to copy program settings from the registry of one Windows machine to another

Some programs still save their settings in the Windows registry. The instructions below will let you copy a part of the registry to another machine.

Important: Modifying the registry can have unintended consequences and may cause issues with your system. Always make sure to create a backup of your registry and a system restore point before making any changes.

  1. On the source machine:
    • Press Win + R to open the Run dialog.
    • Type regedit and press Enter to open the Registry Editor. If prompted by User Account Control, click “Yes” to proceed.
    • In the Registry Editor, navigate to the registry key you want to copy. For example, if you want to copy a key related to a specific software, it might be located under HKEY_CURRENT_USER\Software\ or HKEY_LOCAL_MACHINE\SOFTWARE\.
    • Right-click on the registry key you want to export (in the left panel) and select “Export.”
    • Choose a location to save the .reg file, give it a name, and click “Save.”
  2. Transfer the .reg file to the destination machine using a USB drive, cloud storage, or any other preferred method.
  3. On the destination machine:
    • Locate the .reg file you transferred from the source machine.
    • Double-click the .reg file to start the import process. If prompted by User Account Control, click “Yes” to proceed.
    • A warning message will appear, informing you that making changes to the registry can cause system instability. If you’re sure you want to proceed, click “Yes.”
    • A confirmation message will appear once the registry key has been successfully imported. Click “OK” to close the message.

Now, the desired part of the registry has been copied from the source machine to the destination machine.

Note: If any of the registry values include file paths, you might need to adjust these paths to match the file structure on your new system.

Flutter doctor: No Java Development Kit (JDK) found on Windows 11

The problem: When you run flutter doctor, you get a “no Java Development Kit (JDK) found” error:

The solution: Install a Java Development Kit, then set the environment variables

Download and install a JDK

The download link given by flutter doctor didn’t work when I tried it, but this one did.

Download the file and run the installer.

Add the JAVA_HOME environment variable and update the PATH

Now for the “fun” part: You may have to manually edit the JAVA_HOME and PATH environment variables on your Windows system. In the example below, I’m using JDK19. Please make sure to adapt the instructions so they match your particular setup.

  1. Locate your JDK installation directory. The default path is usually C:\Program Files\Java\jdk-19, but it can vary depending on your installation settings. Make sure to copy this path for later use.
  2. Right-click on the Windows Start button and select System.
  3. In the System window, click on Advanced system settings:
  1. In the System Properties window, click on the Environment Variables button near the bottom right:
  1. Under System variables, click on the New button.
  2. Enter the variable name JAVA_HOME. As the variable value, enter the path to your JDK installation directory from the first step:

For example, if your JDK is installed in C:\Program Files\Java\jdk-19, then the value should be C:\Program Files\Java\jdk-19.

  1. Click OK to save the new environment variable.
  2. In the System Variables list, locate the Path variable, and click Edit.
  3. In the Edit environment variable window, click New, and add %JAVA_HOME%\bin to the list. This ensures that the JDK executables are available in your system’s PATH.
  1. Click OK to save the changes to the Path variable, and close all remaining windows by clicking OK as well.

Please keep in mind that you will need to open a new Command Prompt window for the changes to take effect, as the environment variables are loaded when the Command Prompt is launched.

To verify the changes, you can run echo %JAVA_HOME% in a new Command Prompt window. This should display the path to your JDK installation directory. Running java -version should display the version information of your JDK 19 installation.

Finally, running flutter doctor should show that the “No Java Development Kit (JDK) found” error has disappeared:

DaVinci Control Panels app crashes? Try installing it on a different computer

Whenever DaVinci Resolve notifies me that a new firmware is available for the Speed Editor, the following happens:

  1. I open the DaVinci Control Panels software.
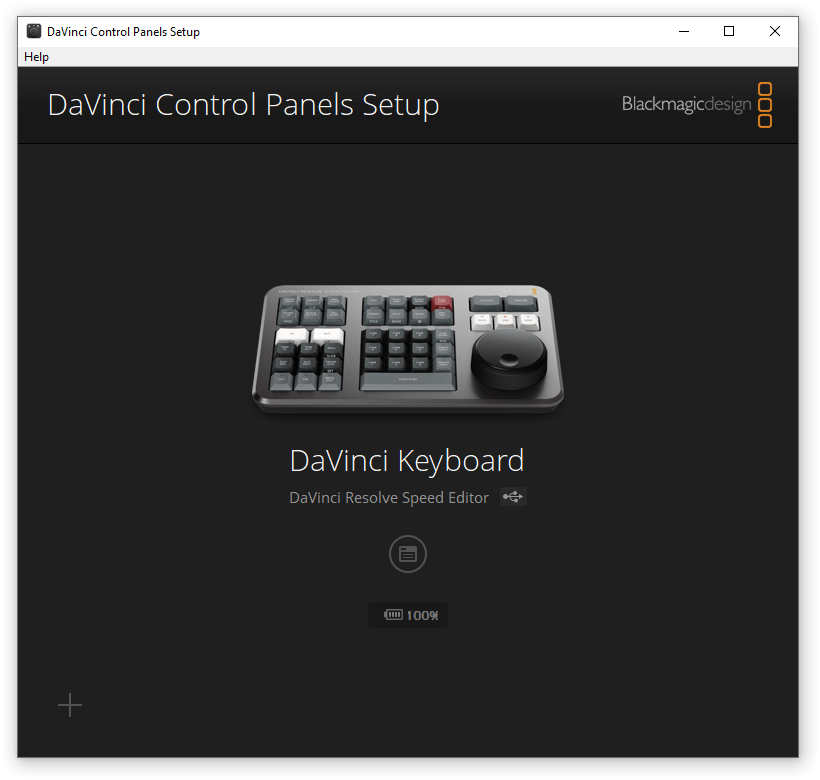
  2. It shows up like this for a few seconds (at most) and then disappears (crashes):
DaVinci Control Panels app showing a blank window before crashing

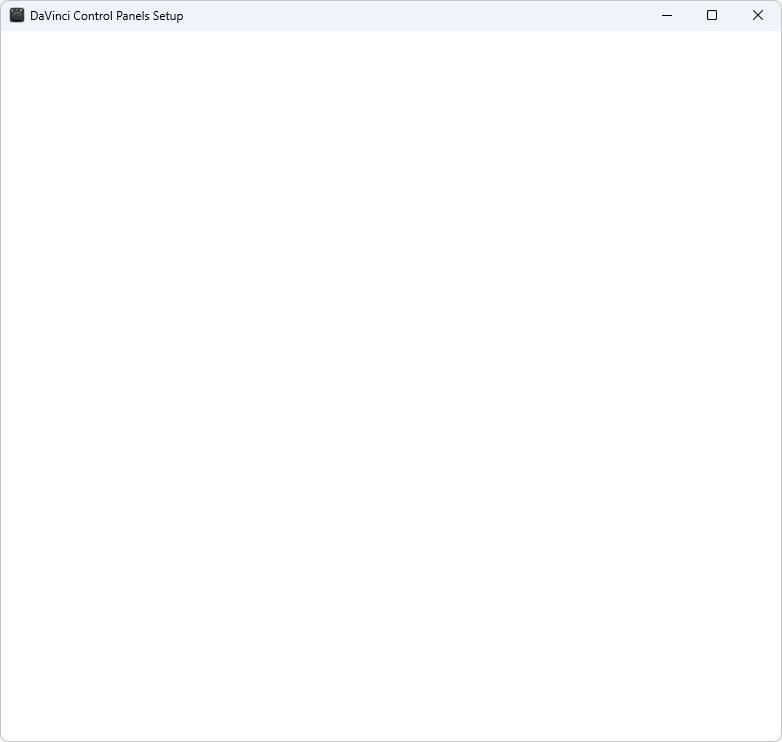
I was unable to resolve this problem on my PC. Instead, I’ve installed the Control Panels application on a different computer, where it worked just fine:

DaVinci Control Panels App working

Unfortunately this required installing DaVinci Resolve, too, which can take a while. It would be nice if Blackmagic made the Control Panels app available as a separate download.

This post is mainly meant to remind me to simply use this method the next time I want to do a firmware update. If you don’t like it, you can always try to get help on the official DaVinci Resolve forum.

Change the keyboard for an existing language in Windows 11

The problem: You’ve added several languages with different keyboard layouts to Windows 11.

Windows 11 language bar showing multiple languages with different keyboards

However, you want all of them to use the same keyboard (in this example “United States-International”).

The solution

In the language bar, click on More keyboard settings (or go to Settings > Time & language > Language & region).

Click on the three dots on the right of the language you want to change and choose Language options:

Windows 11 Language & region settings: Language options

Under Keyboards, click on Add a keyboard and add the keyboard you want:

Windows 11 Language & region settings > Language options: Add a keyboard

Finally, remove the original keyboard:

Windows 11 Language & region settings > Language options: Remove a keyboard

Your language bar should now show multiple languages with the same keyboard:

Windows 11 language bar showing multiple languages with the same keyboard

A user-friendly desktop wallet for Namecoin (NMC)?

Yes, such a wallet exists, though it is still in beta: AtomicDEX (desktop version only) supports Namecoin (NMC).

Namecoin (NMC) in AtomicDEX

You can even use the built-in “atomic swap” feature to trade your NMC, for example, for Komodo (KMD), which you can hold in the wallet and collect rewards or sell on many popular exchanges like Binance (affiliate link). Make sure you read the instructions first (found under Support). The atomic swap protocol requires that the maker and taker stay online and monitor the blockchains involved.

Exchanges which accept Namecoin can be found here.