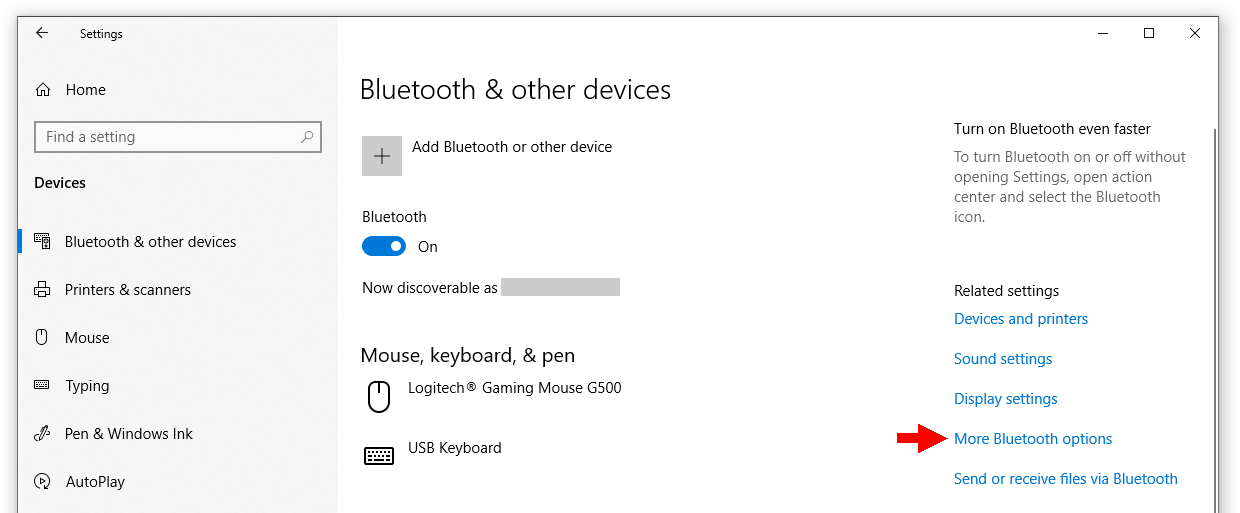
Go to Bluetooth & other devices in Windows settings (e.g. by pressing the Win key + X, selecting Settings and then Devices).
Click on More Bluetooth options:
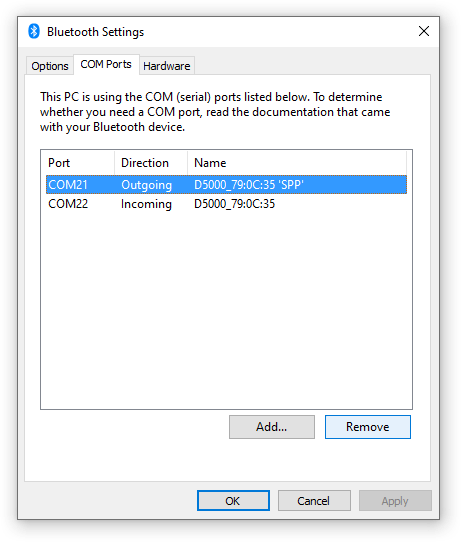
Select the COM Ports tab, then select the ports and Remove them:
Go to Bluetooth & other devices in Windows settings (e.g. by pressing the Win key + X, selecting Settings and then Devices).
Click on More Bluetooth options:
Select the COM Ports tab, then select the ports and Remove them:
You’re running an application on a PC with a high DPI display and some (or all) of the controls are too small. You do not want to change the system-wide scaling settings just to make this application more usable.
Windows 10 allows you to change the high DPI settings for each application.
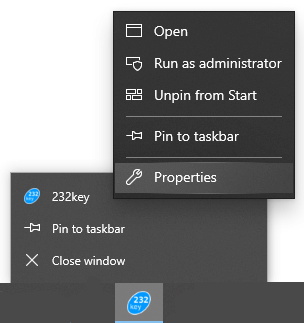
If this method does not work, locate the application’s folder and right-click on the application file (.exe), then select Properties.
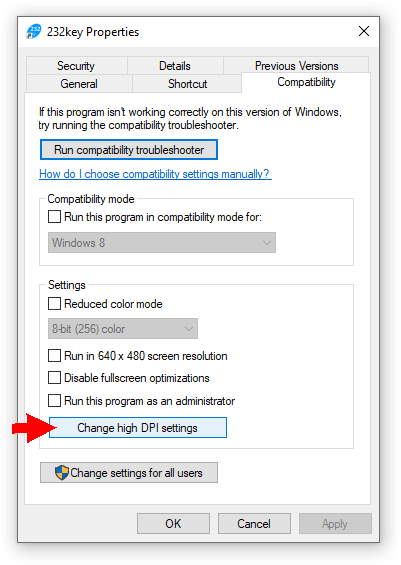
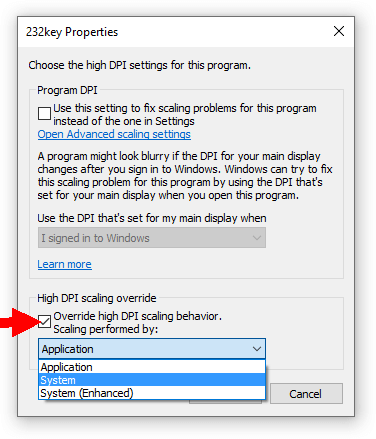
“System” should solve the issue of some controls being smaller than others), though the app will look a bit blurry. “System (enhanced)” will try to make everything look more crisp. You might want to try out all settings (and you may have to restart the app to see any changes).
You can find further information on the settings in this Windows Blog article under “End-user DPI-scaling improvements”.
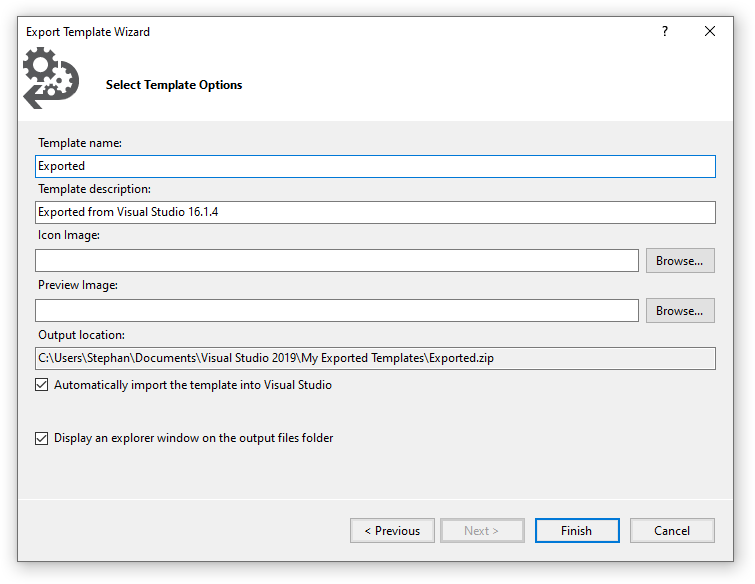
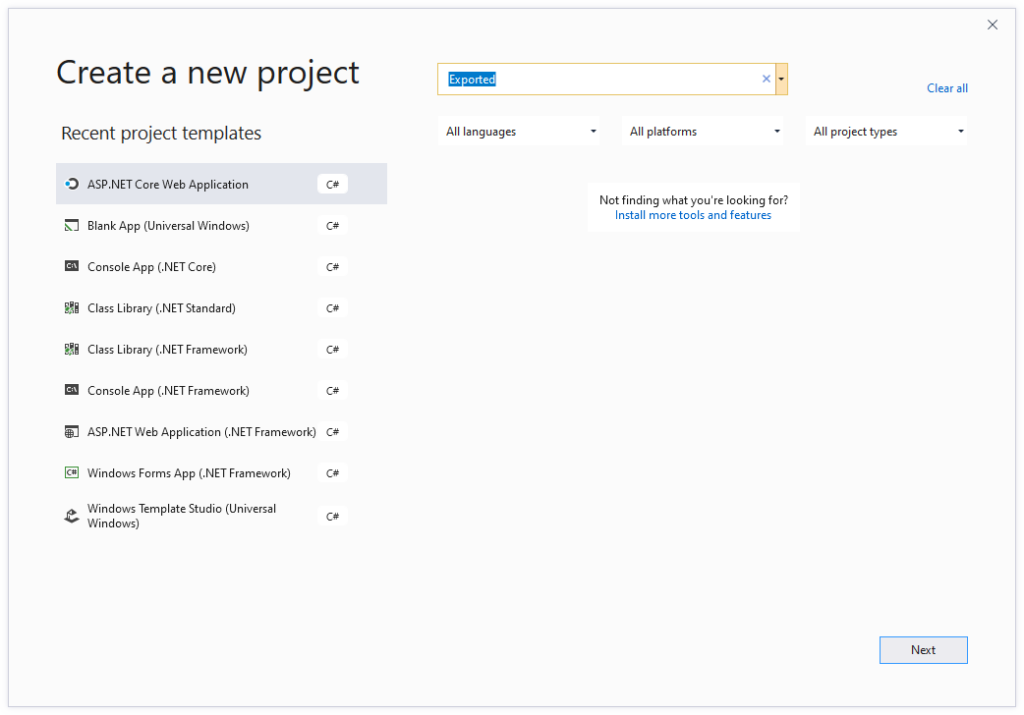
You’ve exported a project as a template. You’ve made sure that “automatically import the template into Visual studio” was checked:
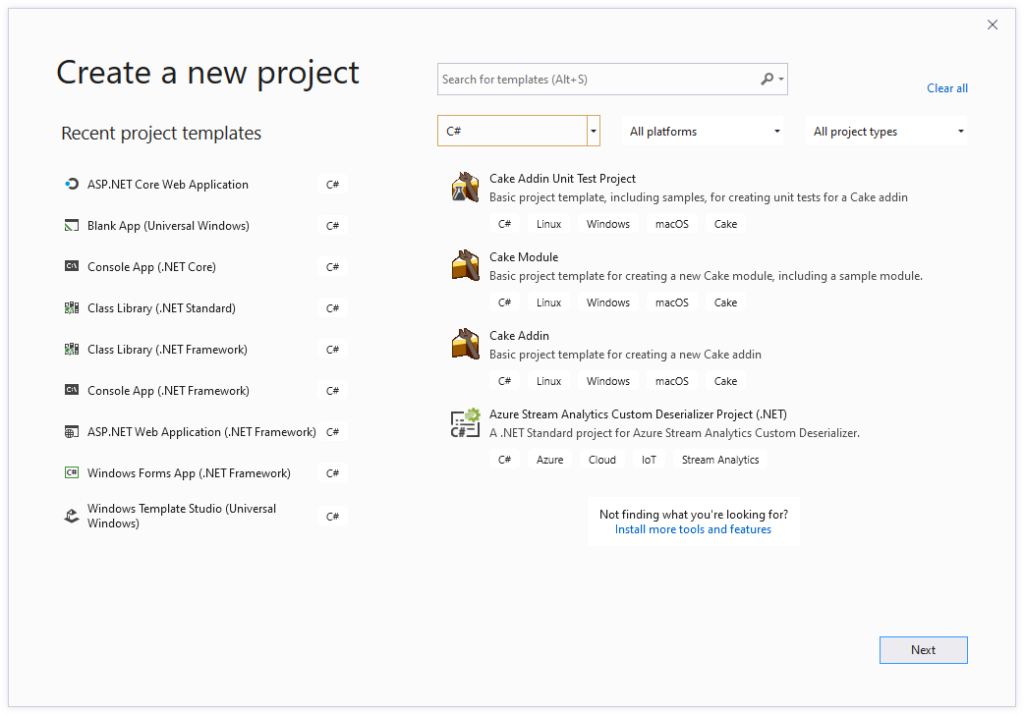
Still, the template does not appear in the “new project” dialog.
Make sure you’ve not made any selection in the “language”, “platform” or “project type” dropdowns:
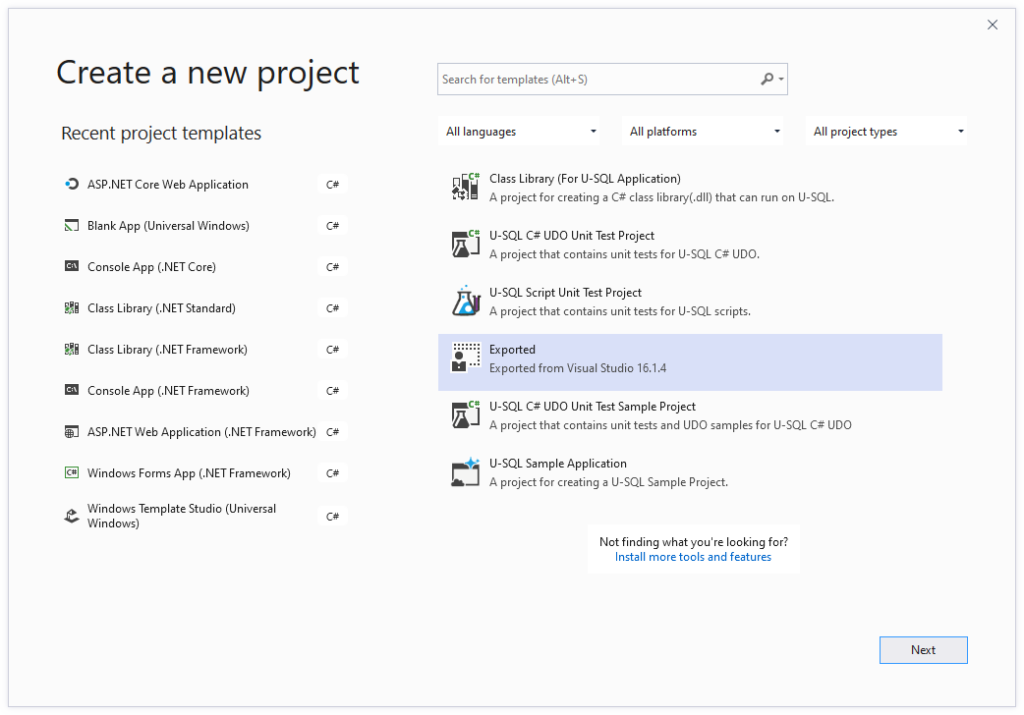
After clearing the C# language selection, the export template appears:
In Visual Studio 16.1.4, it was also not possible to enter the name of the template:
However, this seems to have been fixed (works in 16.4.1).
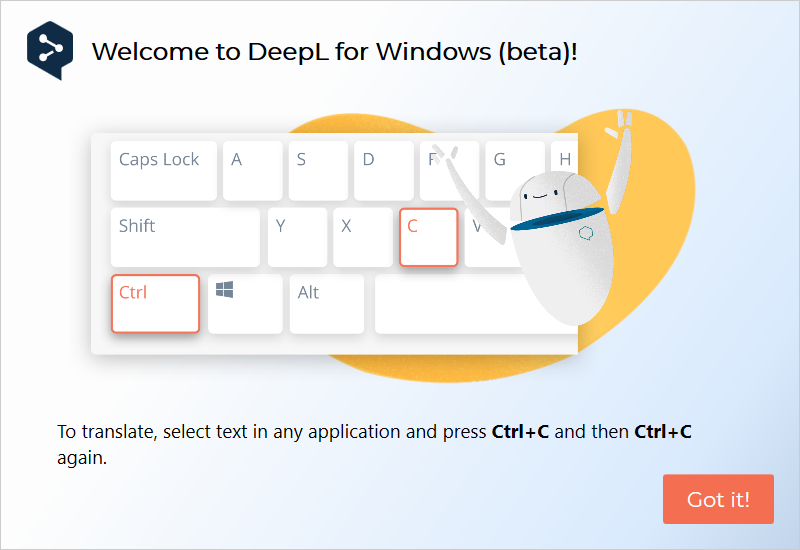
DeepL.com is currently the best AI translator* and is now available as an app for Windows and macOS. This means that users will no longer have to copy text back and forth between their application and the DeepL website:
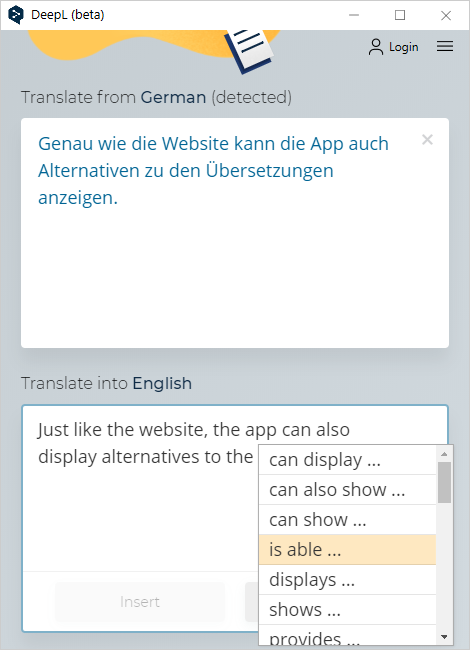
Just like the website, the app is able to provide alternatives to the suggested translations and adapts the rest of the sentence, if necessary:
The limit of 5000 characters per translation can be lifted by signing up for a DeepL Pro plan.
Wondering why the download for Windows has an impressive size of 135 MB? This is mainly due to the use of the Chromium Embedded Framework, which is included both in a 32 bit and 64 bit version.
*Is the Deepl.com the best AI translator? I think so. Like everything on this blog, this is just my opinion. However, as someone living and working in Luxembourg, a country with three official languages, I sure appreciate DeepL.com a lot.
QTranslate has been around for several years, is also available for free and integrates several different translation services (including DeepL):

It has additional features like image text recognition, text to speech synthesis and searching in online and offline dictionaries. However, it seems that it can only provide alternative translations for single words. The size of the download is less than 1 MB.
ClickOnce .application files contain an assemblyIdentity element with a version attribute:
<?xml version="1.0" encoding="utf-8"?>
...
  <assemblyIdentity name="Simple Data Logger.application" version="1.1.2.1" publicKeyToken="0c3a74e9157b5601" language="en" processorArchitecture="msil" xmlns="urn:schemas-microsoft-com:asm.v1" />
An easy way to read this version string is:
var assembly = XElement.Load(uri);
XNamespace ns = "urn:schemas-microsoft-com:asm.v1";
remoteVersionString = assembly.Element(ns + "assemblyIdentity").Attribute("version").Value;
You can use this to create a Version object:
var version = new Version(remoteVersionString);Note: The code above runs synchronously and blocks your application. To avoid this, you could run it in as a task on the thread pool with Task.Run() or you could use XElement.LoadAsync instead of XElement.Load(), if available.